
At Home Teeth Whitening Review
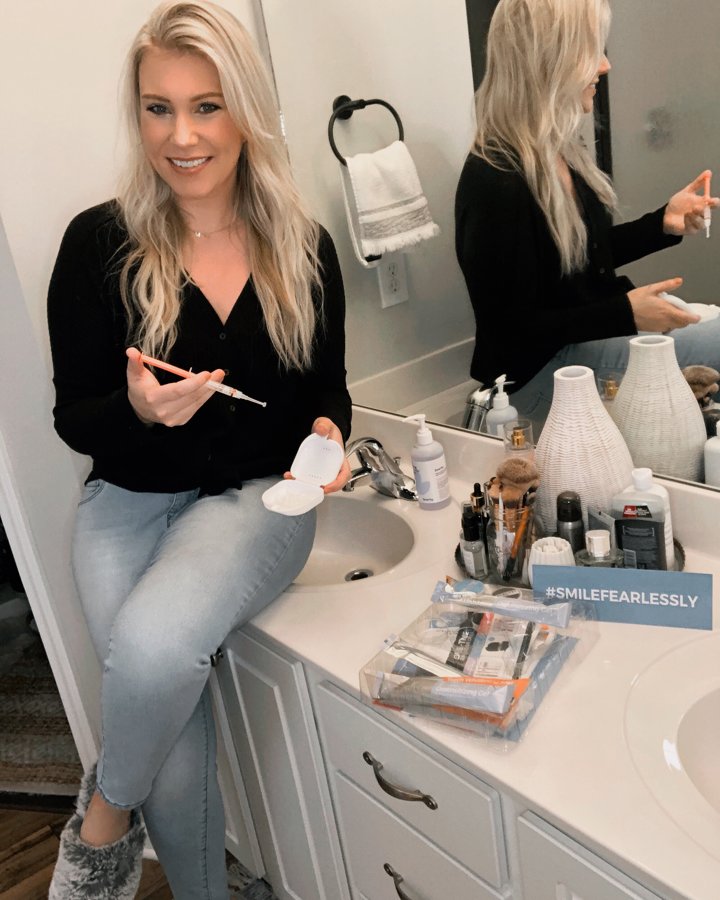
I am a coffee lover (at least 2-3 cups a day) & I love my red wine at night! I noticed my smile getting a little dull in color though recently.... We all want that pretty white smile, but whitening at the dentist can start to cost some serious $$$ and time away from home or your family, that's where Smile Brilliant steps in!
Most whitening treatments at the dentist cost around $700 (not real budget friendly) and have you sitting in the dentist office for hours... What if you could get not only a whitening treatment, but a custom whitening treatment specifically molded to your smile AT HOME?! That's what Smile Brilliant is and it costs under $200! Yes..... under that!
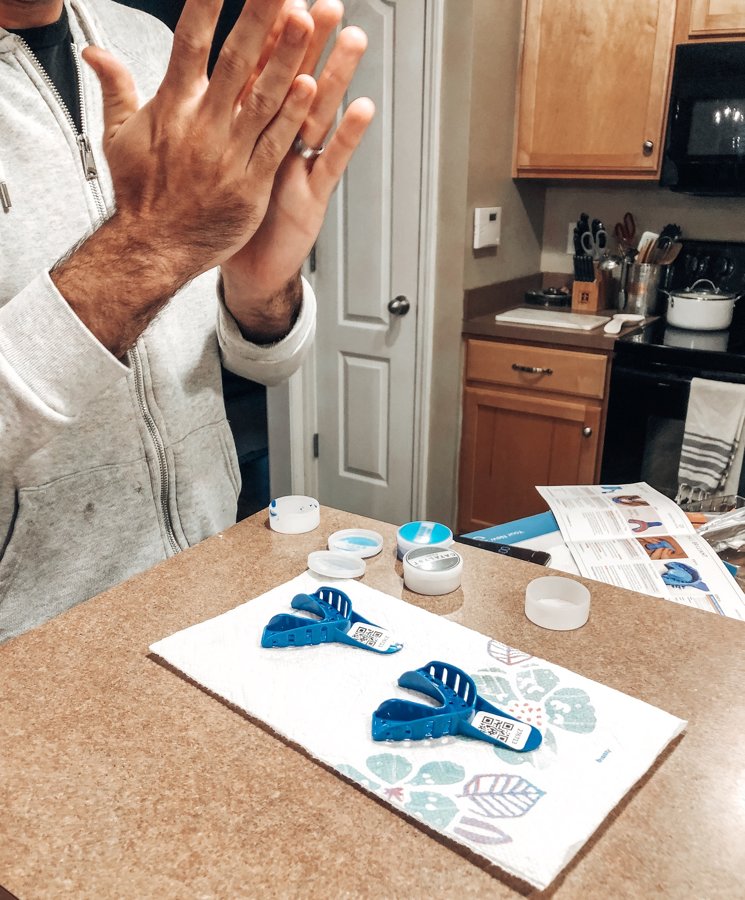
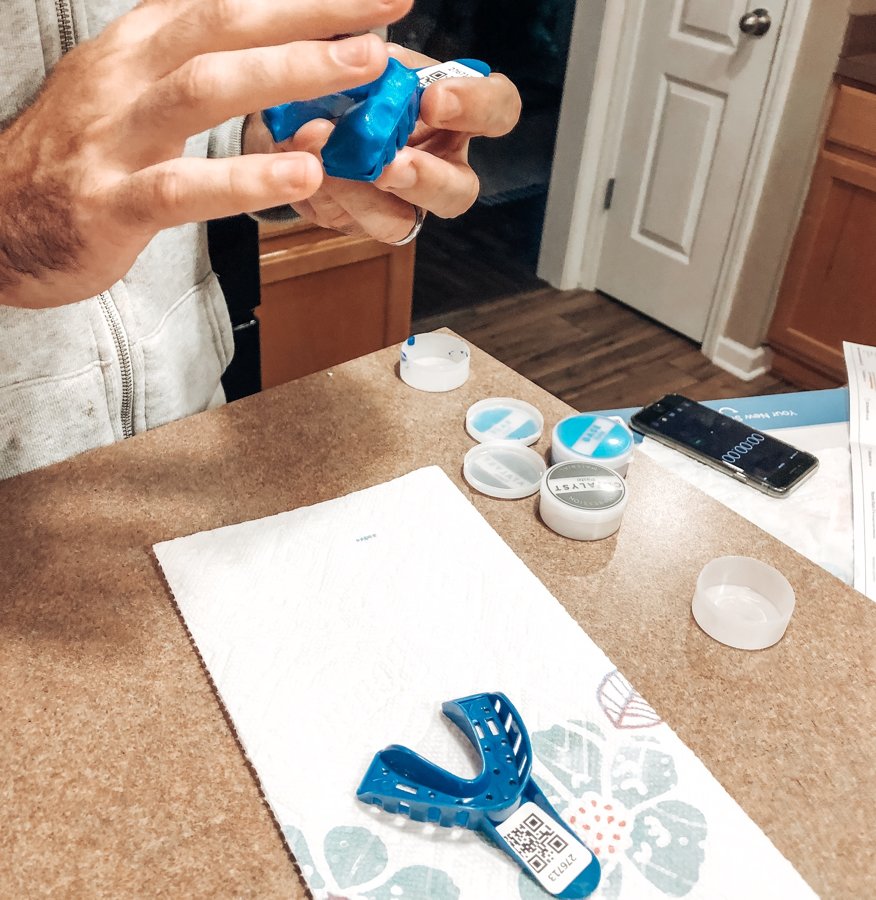
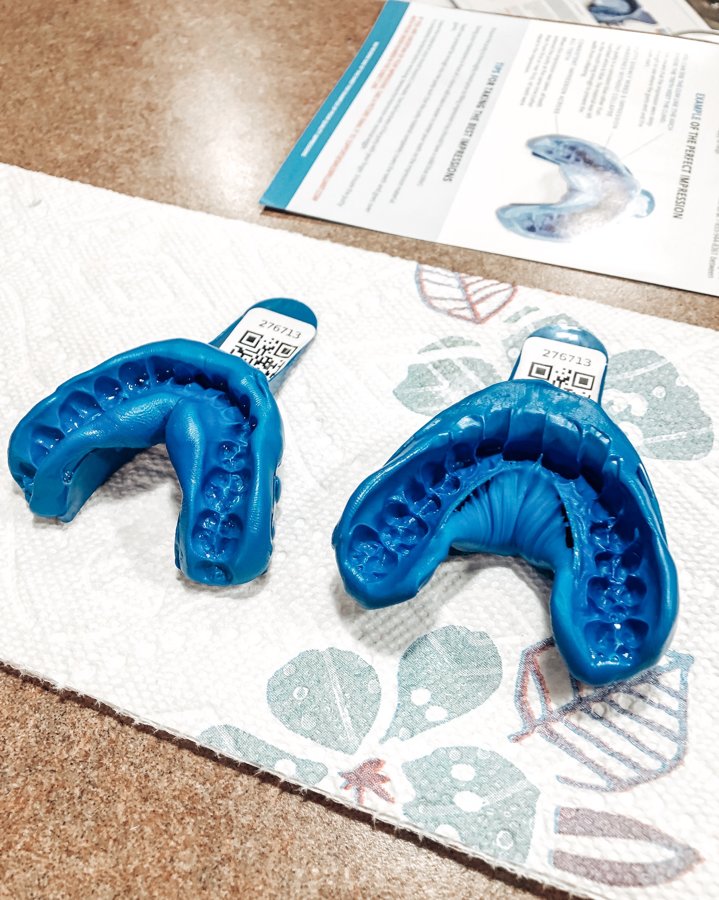
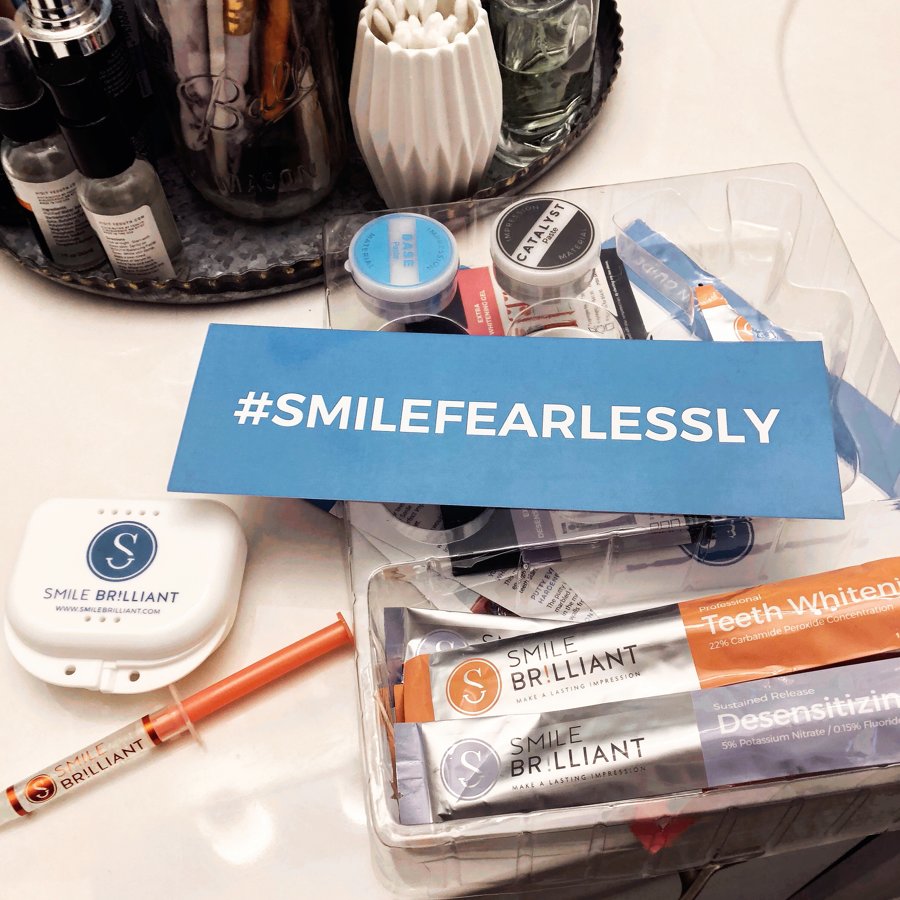
You order your kit online and it arrives all in a box together. You mix the paste and place the imprint paste in the blue trays to get the impressions of your lower and upper teeth. Let the impressions of your teeth in the trays dry all night. The next day, mail off (in the provided mailer) back to Smile Brilliant's dental lab so they can create your custom-fitted teeth whitening trays that you will use! They will mail them out to you when they are ready! (I had my husband help me with making the impressions of my teeth :) )
January 3, 2020
Next when you get your custom whitening trays back, the fun begins! It's super easy, you just place the whitening gel into your custom fitted trays and place them on between 45min - 3 hours depending on your sensitivity. (I also had to put a desensitizing gel on my teeth for about 15 min before as well, because I have sensitive teeth.) Also another tip, start off with shorter time with the whitening on first. The first few times you whiten, just do 45min - 1 hour to get used to it. Then you can work your way up to keep the trays on longer. Make sure you brush your teeth really well and kind of pat dry them before placing the whitening treatment on. After your whitening session is complete, spit out any excess gel in your mouth and brush your teeth with toothpaste as normal. Refrain from any consumption of food or beverages for at least 30 minutes!! Clean your trays with cool water after every use.
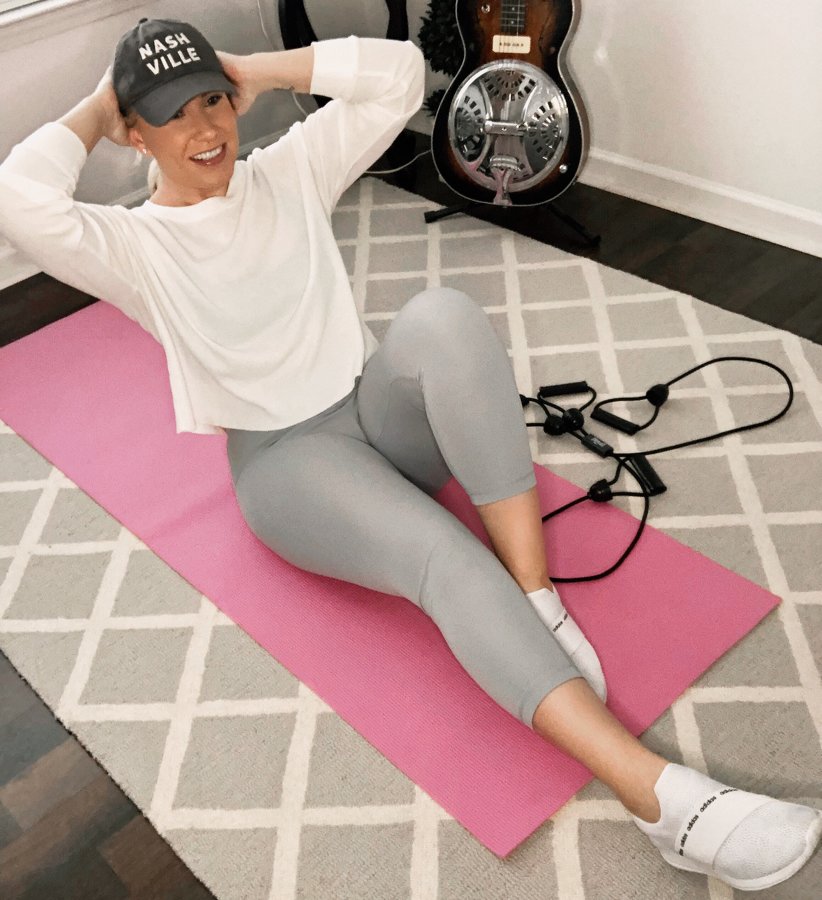
In the beginning, I would either do the treatment an hour or so before bed time, or wear the trays while I did a workout! Reading before bed or getting lost in a workout would help the hour go super quick!
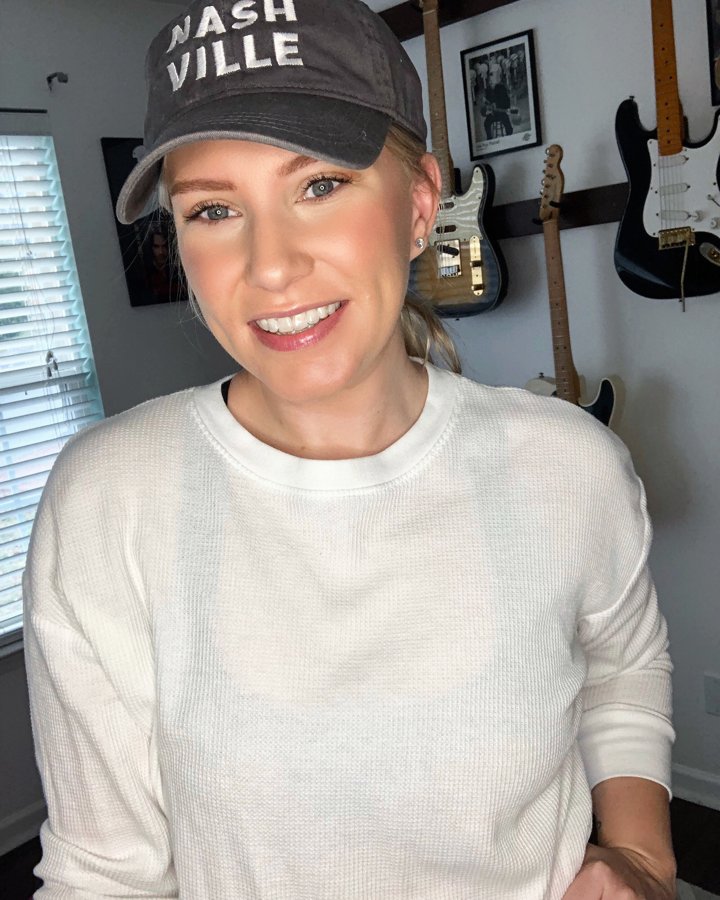
After my sensitivity died down, I'd keep the whitening gel on for 2-3 hours during the day. Clean the house, laundry, working on my blog or styling... the time would go by so fast! If you don't have to answer the phone too much or speak a lot at work, you could easily whiten at work at your desk too! (You can barely see the trays on me at all below!)


I would highly recommend Smile Brilliant to any working parent or person that wants to achieve a whiter smile, but doesn't want to break the bank or doesn't have time in their busy schedule to sit at the dentist office for hours! This kit works!! The custom tray is a game changer for at-home whitening compared to other competitors! If you're looking for a good, effective whitening system at-home, this one is it!
Smile Brilliant is also doing a GIVEAWAY with me to give one of YOU a kit to try!
Enter here: www.smilebrilliant.com/g/
They are also offering 15% off store wide with my code: ablondeobjective15

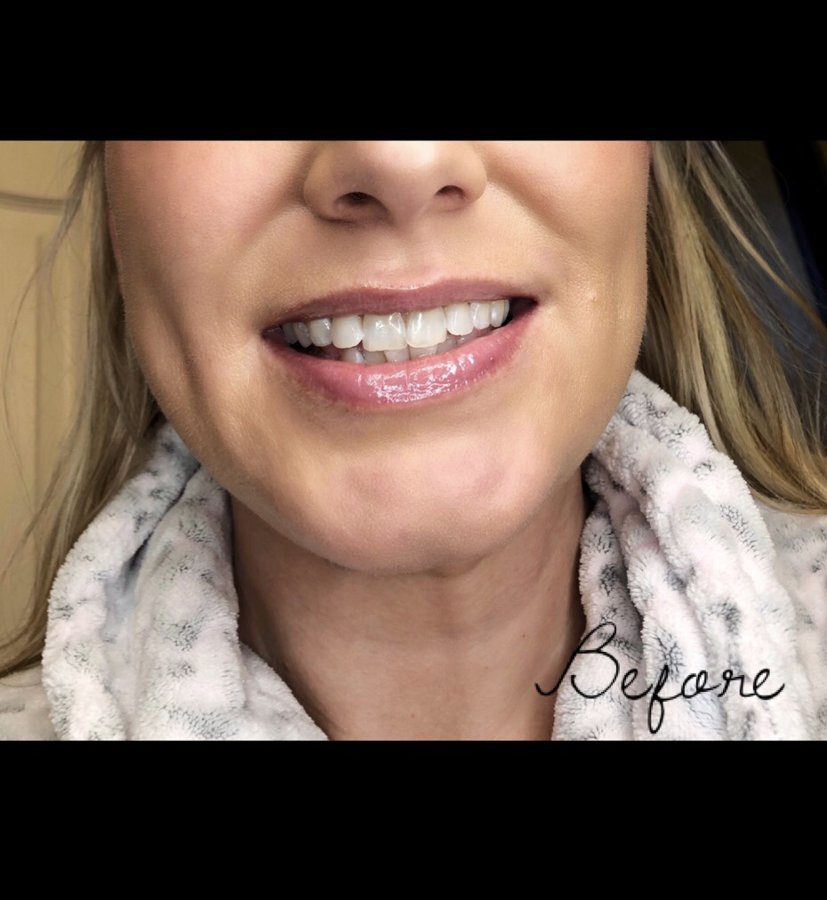
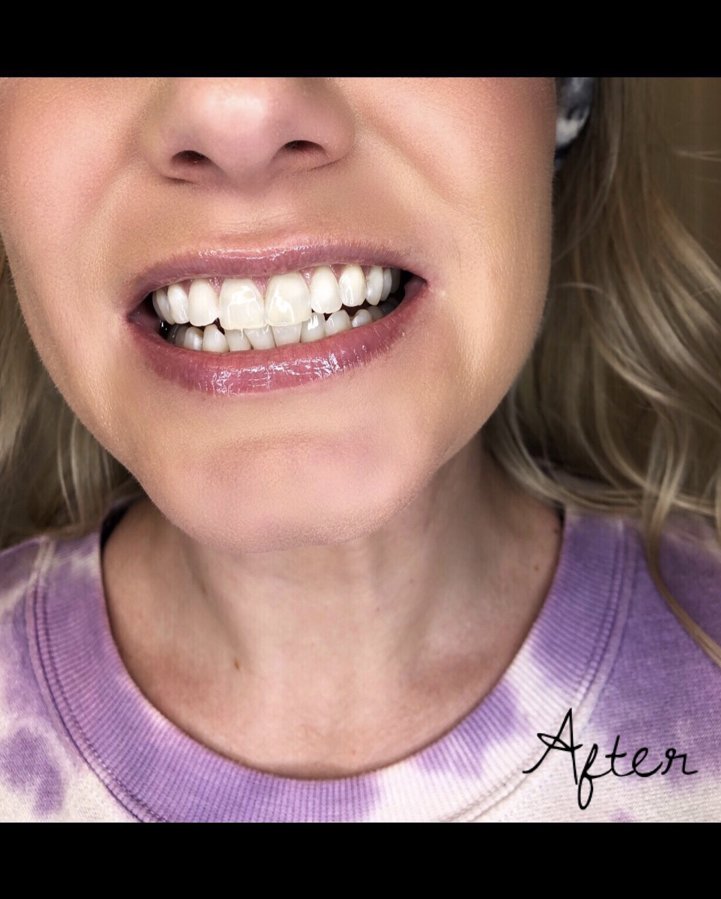
These are my BEFORE & AFTER results:
Before first application: January 23, 2020
After 10 applications: February 1, 2020
Cart
Cart is empty.